How do you create an account on Stripe?
What is a stripe payment gateway?
Step One: Build a Safe and Active Store
Before creating a Stripe account, you should have an active online store with many products. You can build your online store with the help of a freelancer who specializes in building stores through an independent platform, the largest Arab platform for freelance work.
Since website security has become a prerequisite in building sites, it is more important in e-commerce sites in particular because they handle customer financial data, so it is imperative that you install an SSL certificate on your store.
Second Step: Fill in the account creation fields
In this step, two types of shopkeepers should be distinguished:
1. Residents of one of the countries located in the geographical area directly covered by Strip
Residents of this geographical area that Strip directly covers, such as the United States, Canada, Britain, Brazil, and from the Arab countries, the United Arab Emirates, will be able to open a Strip account directly by going to the Stripe page:
- Fill in the basic login data fields: email, name, country of residence, and password.

- You will receive a confirmation message in your email, click on the link provided in the message.
- You will be directed to your Stripe account, at this point you have a Stripe account with all the features, but they are all in test mode ie frozen, to start the Stripe payment gateway in your online store you will first need to activate the account to activate all the features.
- To activate the account, click on the “Start” button to start adding more details necessary to activate the account about your business, necessary details such as:

- Business structure
- Country of incorporation, company address, city, type of business (sole company, limited company, or non-profit organization).
- Business details
- Company legal name as stated in tax documents, Employer Identification Number (EIN), Industry, Website, Products.
- Business representative
- It is the person who represents the company and is responsible for registering the account, his name, address, date of birth, phone number, and national identity number.
- Delivery details Fulfillment details
- The average length of time your customers will receive the product or service after payment.
- Support details
- It is the data that appears on invoices, such as business name, support phone number, and support address.
- Bank account Bank details
- Add your checking account number, to which buyers' payments will be transferred.
- Two-step authentication
To maintain the security of your account and prevent attempts to hack it; Choose an additional authentication step in addition to your password, such as a mobile message, using the Google Authenticator app, or both.
After filling in the above data, review it and make sure that all the details are correct in order to approve the activation of your account, without the need for a lot of additional correspondence, then click on the Submit button.
Stripe will review the information you provide to ensure it complies with its service agreement and, if it needs more information, will contact you. After completing the review, Stripe will not delay in agreeing to activate your account and it may happen on the same day.
Store owners residing outside Stripe's geographical area
This category includes shop owners residing in all Arab countries except the United Arab Emirates. If you reside in these countries, the reliable and legal way to create a Stripe account is to create a Stripe Atlas account. The Strip Atlas service helps you set up your company in the United States of America legally and soundly from where you are, without having to travel to the United States of America.
Stripe launched the Atlas service to help residents of countries outside the geographical area, with its direct coverage, in obtaining the Stripe payment gateway service legally and properly. To learn more, check out our How to Create a Stripe Atlas account.
The Strip Atlas service is a paid service, as we mentioned, you will need to provide data about your business such as the name of the company, its type, founders and their roles, addresses … etc., and within a few days you will receive the incorporation documents to be digitally signed, then Strip Atlas will complete the incorporation procedures, and send you all the incorporation documents The company along with a Stripe account is free.
After opening a Stripe Atlas account, you will receive an e-mail from Stripe requesting confirmation of business information, additional basic information such as product delivery details for customers and support details, as well as the current bank account on which you will receive buyers' payments. Once you submit this data you will receive an email informing you that your account has been accepted and that you are now ready to add the stripe payment gateway to your online store.
How to add a stripe payment gateway to your online store?
Now it's time to add Stripe payment gateway service to your online store. In this tutorial, we will take an example of how to add Stripe payment gateway to WooCommerce. The process of adding is simple and takes only a few minutes as follows:
- Search your store extensions for “WooCommerce Stripe Payment Gateway,” then click the “Download” button.

- Go to your WooCommerce store settings and select “Payments”.
- You will notice that there is a long list of options available to Stripe such as: credit card, debit card, and other payment methods offered by Stripe. Click the button in the middle to enable the payment methods you want.

- Click the Manage payment method side button to adjust the detailed method settings, such as the method title and description, which the customer will actually see when they make a purchase.
- Adjust the push button settings for Type, Theme, Size, and the site pages where Locations will appear.
- Go to your Stripe Dashboard, click on “Developers” on the top right of the page, and from the side menu select “API Keys.”

- Stripe gives you Test API Keys as a trial, to make sure that everything is OK before the actual launch in front of buyers, one of these keys is “Secret” which only you can see, and the other is “Publishable” where it appears in front of the buyer during the purchase process. Add these keys in their places on the Manage page of your chosen payment method (step #4), then click on the “Save changes” button at the bottom to save the changes.

After you finish testing your API keys, replace your Test API Keys with Live API Keys, which are the keys that will actually work during real customer purchases.
Now the steps to add Stripe payment gateway service to your online store are completed successfully, when you test the store yourself you will see the payment methods you added displayed on the site!
Frequently Asked Questions About Stripe Payment Gateway
Is stripe payment service available in Arab countries such as Saudi Arabia, Egypt, and the UAE?
Stripe payment service is available directly so far in only one Arab country, the United Arab Emirates, but residents of other Arab countries such as Saudi Arabia and Egypt can still obtain Stripe service indirectly by subscribing to the Strip Atlas service and obtaining a free strip account. Stripe offers the Atlas service, to help countries that are not directly covered by getting a stripe payment gateway account, and adding it to their stores securely and reliably.
What countries does Stripe Payment Gateway support?
The Stripe payment gateway supports 47 countries around the world, stretching from North America, Brazil, and the European Union, passing through the United Arab Emirates in the Arab region, as well as Hong Kong, Malaysia, India, Singapore, Hong Kong, and Japan in Asia, and all the way to Australia and New Zealand in the Far East. To see the updated list of countries from Stripe, visit this page.
What are the conditions for obtaining a Stripe payment gateway?
Getting a Stripe payment gateway needs two prerequisites:
Having an active and secure online store that contains many products.
Belonging to one of the countries supported by Stripe, such as the United Arab Emirates, America, Canada, and Brazil.
After submitting an application for a Stripe payment gateway, Stripe reviews the application to ensure that these two conditions are met, and if additional information is required, you will be contacted by email.
What payment methods does Stripe accept?
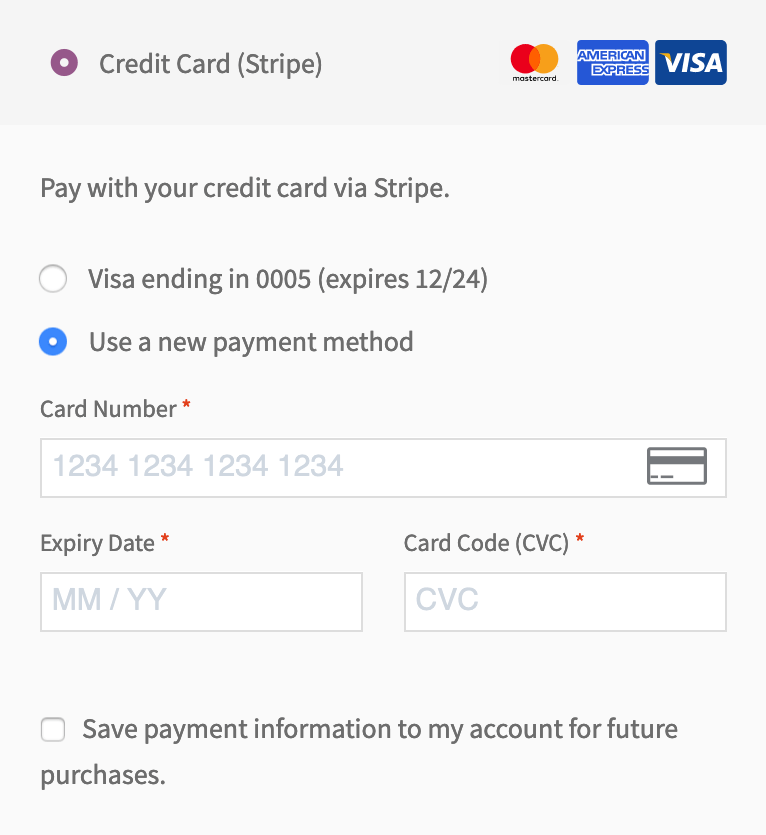
The Stripe payment gateway accepts the vast majority of payment methods, such as credit and debit cards (Visa, MasterCard, and American Express), digital wallets such as Apple Pay, Google Pay, and Microsoft Pay, as well as debit cards. Please refer to the Stripe website for detailed information on all payment methods accepted by Stripe.
What are the steps to open a strip account?
If you reside in one of the countries supported by the Stripe payment gateway, the steps to open an account are:
Fill in the basic login information (e-mail, name, country of residence, and password from the Stripe page).
Click on the confirmation email you will receive to complete the account creation.
Click on the Start button in order to start the steps to activate the account.
Fill in the data for your company details, such as name, address, employer ID number, website, products…etc.
Wait for Stripe to activate your account after reviewing all the details.
How do I open a Stripe account through Stripe Atlas?
Strip Atlas gives you the ability to set up a company in America from where you are and create a business bank account in America. In order to open a Stripe account through Stripe Atlas, follow these steps:
Visit the Stripe Atlas page, and fill in all the required fields about your business such as company name, type of company, founders and their roles, addresses…etc.
Sign your company incorporation documents, which will be emailed to you within days.
Fill in the bank account creation document from the Stripe Atlas dashboard which needs passport data, US phone number, and address.
Type more business details that Stripe will request via emails such as bank account and customer support details.
You will receive an email that your Stripe account has been accepted.
Conclusion
Stripe has become an important option for anyone who owns an e-commerce site to discover, the previous presentation was intended to help you study this option in all its dimensions. If you have experience with adding Stripe to your store, please share it with us in the comments for readers to benefit from.


0 Comments